Siopao, a beloved Filipino snack influenced by Chinese cuisine, is famous for its soft, fluffy dough and savory filling. The magic of siopao lies in its dough—it’s the key to creating those cloud-like buns that cradle delicious pork, chicken, or vegetable fillings. Whether you’re a seasoned home cook or a beginner, this guide will walk you through the perfect dough recipe for siopao, ensuring your buns turn out light, airy, and flavorful. In this article, we’ll break down the ingredients, the step-by-step process, common mistakes to avoid, and some helpful tips for achieving flawless results every time.
What is Siopao?
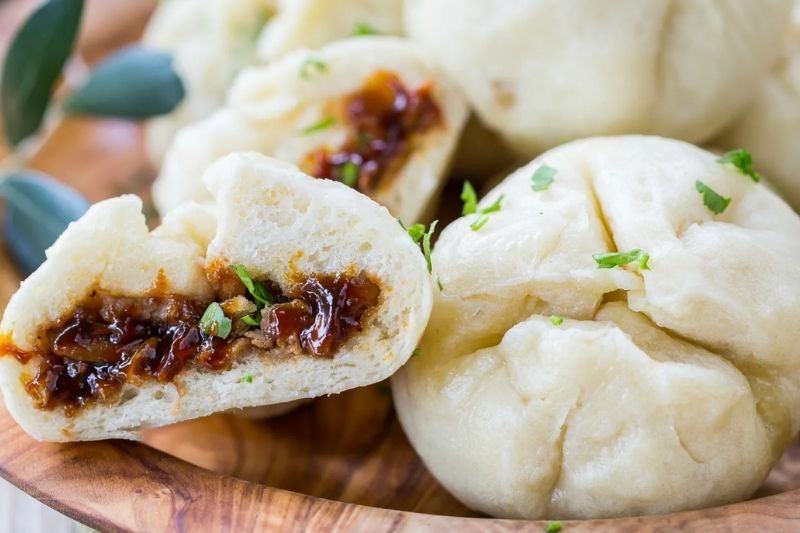
Siopao, which translates to “hot bun,” is the Filipino take on the Chinese steamed bun or baozi. These buns are typically filled with sweet or savory meat and steamed to perfection.
Brought to the Philippines by Chinese immigrants, siopao quickly became a street food staple, enjoyed by locals for its convenience and hearty filling. Though the buns are similar to their Chinese counterparts, Filipino siopao has its own unique flavor profile, often featuring pork asado or bola-bola (a meatball-like filling).
There are two main types of siopao:
- Siopao Asado – filled with a sweet, soy-glazed pork mixture.
- Siopao Bola-Bola – filled with a meatball-style mixture, often including pork, shrimp, and salted egg.
Essential Ingredients for Siopao Dough
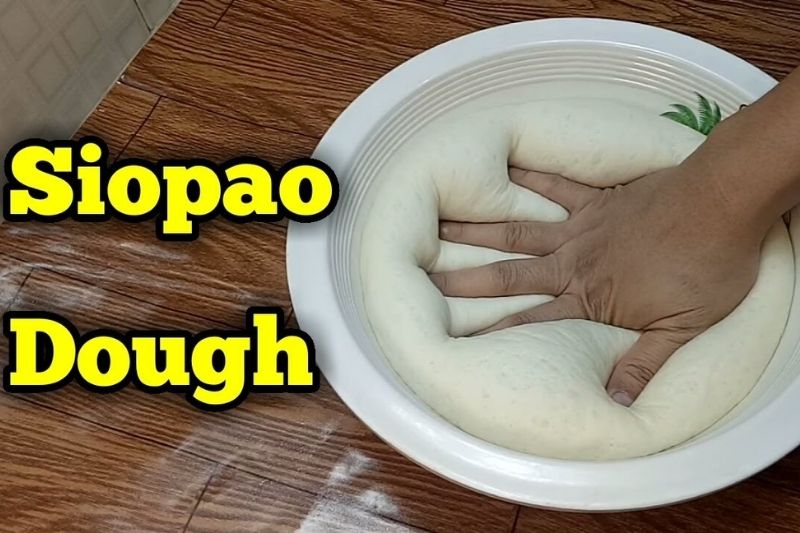
Creating the perfect siopao dough requires just a few basic ingredients. However, using the right quantities and following the right techniques makes all the difference between a soft, fluffy bun and a dense, dry one.
Choosing the Right Flour
The choice of flour is critical to achieving the correct texture. All-purpose flour works best for siopao dough as it strikes a balance between softness and structure.
Yeast and Leavening Agents
Yeast is what gives the siopao dough its characteristic rise. For this recipe, you’ll want to use active dry yeast. Make sure your yeast is fresh and active—proof it in warm water with a bit of sugar before using it.
Sugar and Salt Balance
Sugar plays two important roles in the dough: it feeds the yeast, helping the dough rise, and it provides a slight sweetness that complements the savory filling. Salt strengthens the dough, balancing the flavors and enhancing texture.
Step-by-Step Guide to Making Siopao Dough
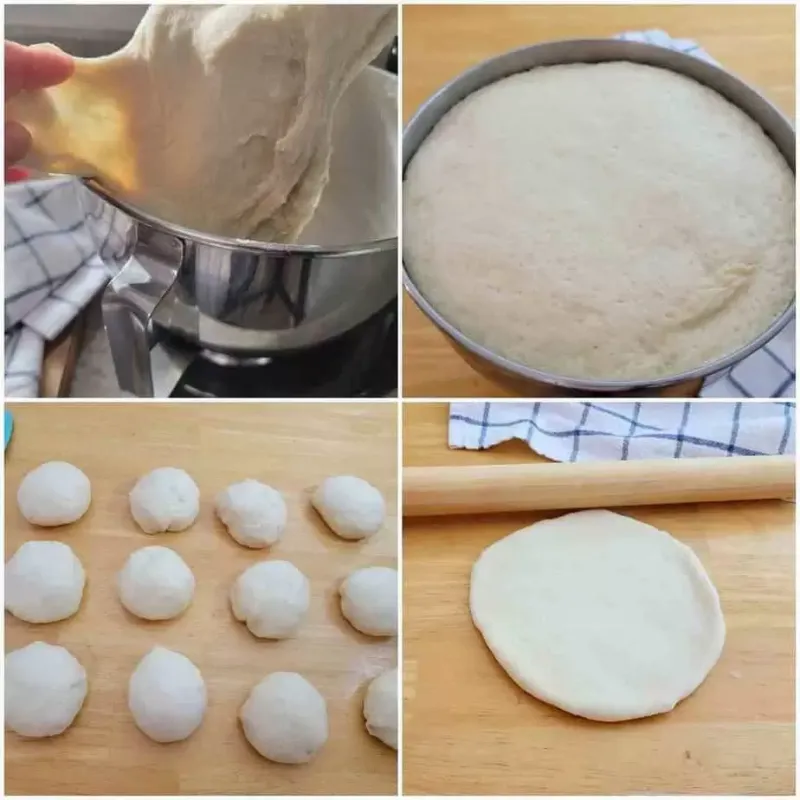
If you’re ready to create the perfect siopao dough, follow this detailed guide. We’ll break down each step to ensure that your dough is light, fluffy, and perfect for those delicious fillings. Here’s how you can master the art of making siopao dough:
Mixing the Dough
The first step to making the perfect dough for siopao is mixing the ingredients together. Here’s how to do it:
- Combine the dry ingredients: Start by sifting your flour, sugar, and salt into a large mixing bowl. This ensures that everything is well combined and that there are no lumps.
- Activate the yeast: In a separate small bowl, dissolve your yeast in warm water. Make sure the water is not too hot—around 110°F (43°C) is the ideal temperature. Hotter water can kill the yeast, while cooler water might not activate it properly.
- Wait for the yeast to foam: Let the yeast mixture sit for 5-10 minutes. If it’s active, the yeast will become foamy. This is a good sign that it’s ready to use. If the mixture doesn’t foam, your yeast might be inactive, and you should start with a fresh batch.
- Combine the ingredients: Pour the foamy yeast mixture into the bowl with your dry ingredients. Add water gradually—start with small amounts and mix well each time. Use a wooden spoon or spatula to stir the mixture until it forms a shaggy dough.
- Mix until dough forms: Continue adding water as needed until the dough comes together into a ball. The dough should be slightly sticky, but still manageable. If it’s too sticky, add a little more flour. If it’s too dry, add more water a teaspoon at a time.
Kneading Techniques for a Fluffy Texture
Kneading is a crucial step in the dough-making process. It develops the gluten, which gives siopao dough its soft, stretchy structure.
- Transfer to a floured surface: Once your dough is mixed, turn it out onto a lightly floured surface. This helps prevent the dough from sticking to your hands or the counter as you knead.
- Knead for 10 minutes: Using the heels of your hands, press the dough forward, fold it back over itself, and repeat. Knead for about 10 minutes until the dough becomes smooth and elastic. If the dough sticks to your hands, sprinkle it with a little flour, but don’t add too much—overly dry dough will result in tough buns.
- Check for readiness: You’ll know the dough is ready when it’s smooth, bounces back when pressed lightly with your fingers, and doesn’t tear easily. Another test is the “windowpane test”—gently stretch a small piece of dough between your fingers. If it stretches without breaking and you can see through it (like a windowpane), it’s good to go.
Proofing the Dough
Proofing, or letting the dough rise, is essential for creating airy siopao buns.
- Prepare for proofing: Lightly grease a large bowl with oil or cooking spray. Place the dough inside and cover the bowl with a damp cloth or plastic wrap. This keeps the dough from drying out while it rises.
- Let the dough rise: Put the bowl in a warm, draft-free area. The ideal temperature for proofing is around 75°F to 80°F. If your kitchen is cold, you can place the bowl in the oven with just the oven light on or near a warm window.
- Proof for 1 to 1.5 hours: Let the dough rise until it doubles in size. This can take anywhere from 1 to 1.5 hours, depending on the temperature of your room and the freshness of your yeast. Be patient—rushing this step will result in dense buns.
Shaping the Buns
Once the dough has proofed and doubled in size, it’s time to shape the buns.
- Punch down the dough: Gently punch down the dough to release the trapped air. This deflates the dough, making it easier to work with.
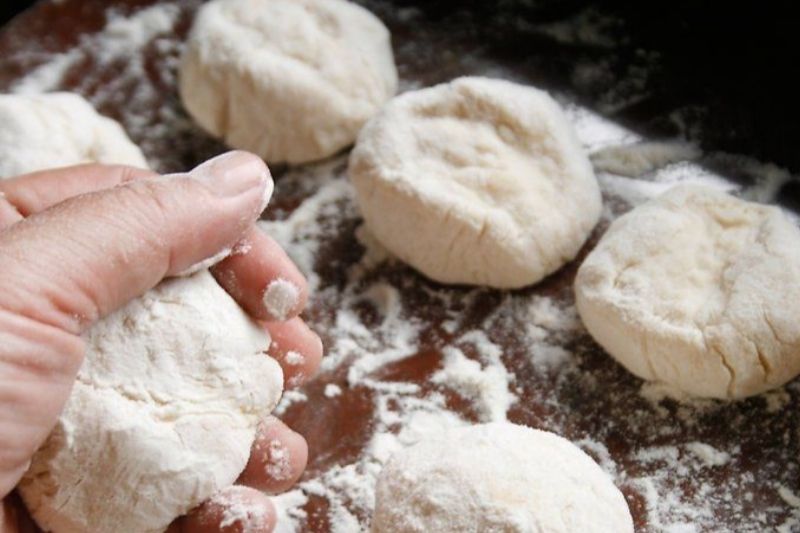
- Divide into portions: Turn the dough out onto a lightly floured surface and divide it into equal portions. Each portion should be about 50-60 grams if you want standard-sized siopao. Use a kitchen scale if you want to be precise.
- Shape the dough: Roll each portion into a smooth ball. Then, flatten the dough ball into a disk using your hands or a rolling pin. The edges of the disk should be thinner than the center to help with sealing.
- Add the filling: Spoon your prepared filling (such as pork asado or bola-bola) into the center of each dough disk. Gather the edges of the dough and pinch them together at the top to seal the bun. Be sure to pinch tightly so the filling doesn’t leak during steaming.
Final Proof and Steaming
The final steps are to proof the buns one more time and steam them to perfection.
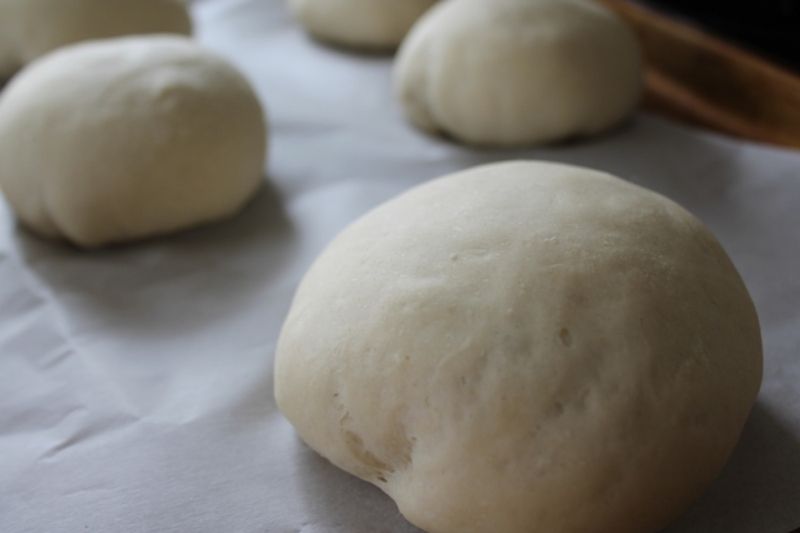
- Second proofing: Place the shaped buns on a parchment-lined tray or steaming paper, leaving space between them to expand. Cover them with a damp cloth and let them rest for another 20 minutes. This second proofing allows the dough to relax, ensuring a light and fluffy texture.
- Prepare your steamer: While the buns are resting, set up your steamer. Fill the steamer pot with water and bring it to a boil. Reduce the heat to medium once it reaches a rolling boil to maintain a steady steam flow.
- Steam the siopao: Transfer the buns into the steamer, making sure they don’t touch each other. Steam the siopao over medium heat for 15 to 20 minutes. Avoid opening the steamer lid during cooking, as the sudden temperature change could cause the buns to deflate.
- Check for doneness: After 15-20 minutes, the buns should be firm to the touch and have a soft, pillowy texture. Remove them from the steamer and let them cool slightly before serving.
Tips for Perfect Siopao Dough
Getting the dough just right can take a bit of practice, but here are some helpful tips to ensure success:
How to Avoid Dense Buns
One of the most common problems with siopao dough is buns that turn out dense rather than fluffy. This is often caused by over-kneading or under-proofing. Make sure to knead the dough only until smooth and allow it enough time to rise.
Maintaining the Right Moisture Level
If your dough is too dry, it can result in tough buns. On the other hand, too much moisture can make the dough sticky and difficult to work with. Aim for a dough that is soft but not overly wet—if it feels too dry, add a bit more water, one teaspoon at a time.
Adjusting the Dough for Different Fillings
Depending on your filling, you may need to adjust the dough thickness. For a heavier filling like pork asado, you may want to roll the dough a bit thicker to ensure it holds together during steaming.
Common Mistakes When Making Siopao Dough
Avoid these common pitfalls to ensure your siopao dough turns out perfect every time:
Over-Kneading or Under-Kneading
If the dough is over-kneaded, it will become tough, making the buns chewy rather than soft. Under-kneading, on the other hand, won’t develop enough gluten, resulting in flat, dense buns.
Skipping the Proofing Process
Skipping the proofing step is a recipe for disaster. Proofing allows the dough to rise and develop the airy texture that makes siopao so irresistible.
Incorrect Dough Consistency
If the dough is too wet or too dry, it won’t rise properly. Make sure your dough is tacky but not sticky—it should pull away from your hands easily when kneaded.
FAQ
Can I make siopao dough ahead of time?
Yes! You can prepare the dough in advance and refrigerate it for up to 24 hours. Just make sure to let it come to room temperature before shaping and steaming.
Why didn’t my dough rise?
This is usually due to old or inactive yeast. Always check the expiration date on your yeast and proof it in warm water before adding it to the dough.
Can I freeze siopao dough?
Yes, you can freeze the dough after the first proof. When you’re ready to use it, thaw it in the fridge overnight, then let it come to room temperature before shaping.
What type of yeast should I use for siopao dough?
Active dry yeast works best for siopao dough, but you can also use instant yeast. Just adjust the proofing time slightly, as instant yeast works faster.
Is there a gluten-free option for siopao dough?
You can use gluten-free flour, but the texture may not be as soft and fluffy. Experiment with different gluten-free flour blends for the best results.
Conclusion
Making the perfect dough for siopao takes time and patience, but once you’ve mastered it, you’ll be able to whip up these fluffy buns anytime. By following the steps above and avoiding common mistakes, you’ll have light, airy siopao buns that are perfect for any filling, whether sweet or savory.
Experiment with different types of fillings, and don’t be afraid to get creative with the dough. Soon, you’ll have your own foolproof recipe for siopao dough that you can pass down through generations.
